
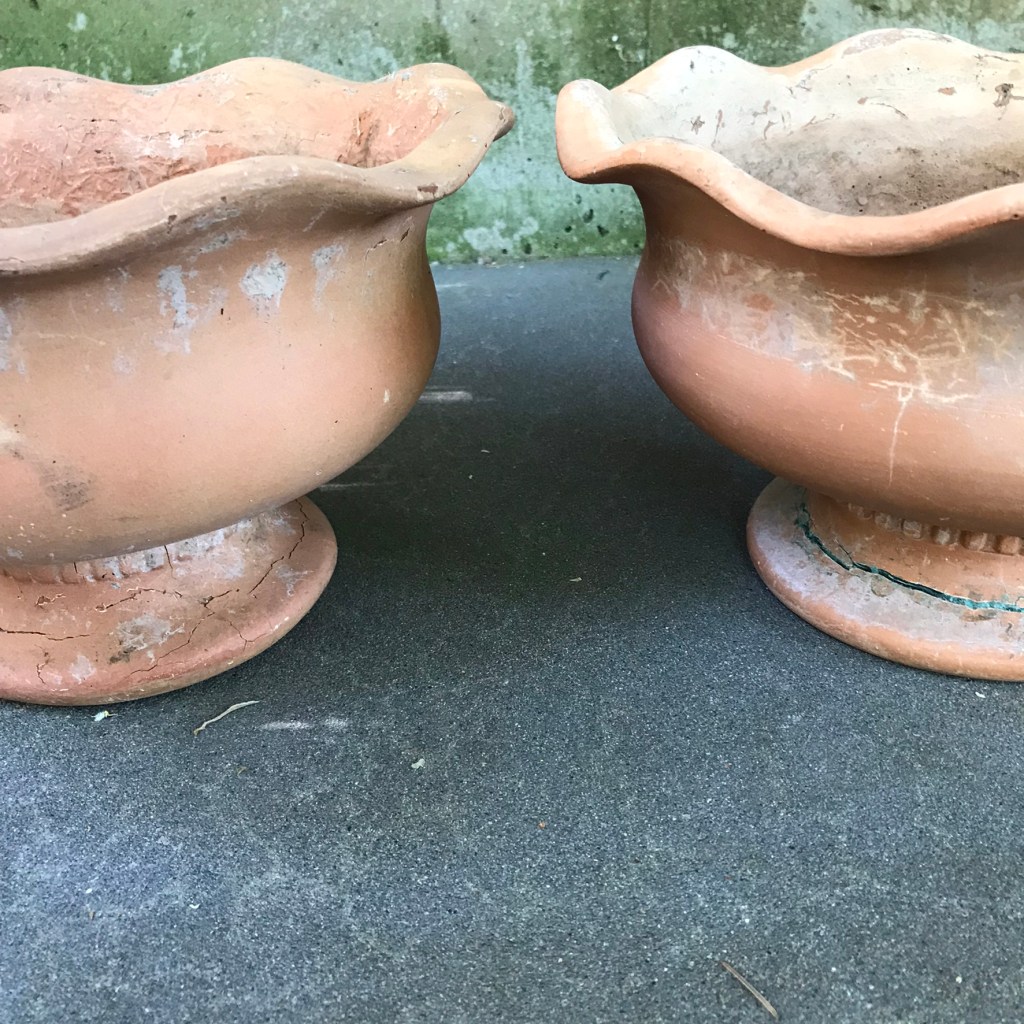
Summer is almost upon us – and with the sun and warmth cresting to a steady glow, repotting season. But oh no! Your favorite planter is cracking! Can it be saved? How can you repair, or at least prevent it from going to the landfill?
One answer: With epoxy resin! Whether you’re dealing with chips, cracks, or your vessel has split clean in two, with epoxy resin, you’ve got options to repair and/or repurpose (and to be clear, epoxy resin will work in, but is not limited to terracotta and ceramic situations, nor pots, planters, and pedestals. It could even be used to fill nicks on a coffee mug!). Read on to learn how.
Materials
- pot/vessel in need of repair
- 2-part epoxy (I used Gorilla)
- soft chalk pastels (available at any arts/craft store – like this)
- cheese or garlic grater
- paper cup for mixing
- popsicle stick(s)
- painter’s tape
- something disposable to cover your work surface (newspaper, wax paper, etc.)
- as needed: a vice, clamp, or bungee cords to bond separate parts together
- as needed: bookends or objects to hold project in place
- scraper tool with flexible blade (I used this one)
- hair dryer
Directions
1. Prep your project and station. Outdoors or in a well-ventilated areas, lay down your newspaper. Tape off any areas as needed on your project, thinking about where you do and don’t want the epoxy to run.
2. Clean the areas in need of repair. That means removing dust, pollen, and other debris from the surface of the cracks or chips in your planter. A cloth rag or microfiber cloth is great, but for tighter cracks you can’t get into, you could use a water jet, compressed air, a vacuum hose, even a Q-tip with water on it. Just make sure that all parts are dry before continuing.
3. Choose your fill color. Determine whether you want to match the color of the vessel you’re repairing, or go for a pop color feature. Personally, I like the advice my Mom gave me: an attempt at a matched color usually looks like an attempt at a matched color, but choosing a different shade gives you the power to pivot for a unique, desired effect. So I did just that: Instead of trying to color-match my terracotta pot, I opted for a teal hue with a vision of creating an aged patina look.
Note: In theory, you’re not limited to soft chalk; you might use paint, or even gold flakes, depending on the effect you’re going for. I can’t guarantee how it will turn out, but I will say something that’s already broken makes the perfect canvas for experiment.
4. Prepare the pigment. This is where your grater + soft chalk come in. Once you’ve chosen your color, grate some chalk straight your paper cup. Remember you’re not limited to the colors in your set; mixing multiple pigments will create new colors.
5. Prepare the epoxy resin. Your epoxy comes in two separate parts: the resin and the hardener. It activates when mixed, and then you’ll have three minutes (3) to work your magic. So make sure you read any product instructions and know what you’re doing before you start!
If opening the exact one I used, you’ll have to jimmy out the plastic stirring stick and remove the end cap first. This is the hardest part of the whole ordeal, I promise! If your epoxy is already open, point the nozzles toward the air and slowly press the pump until both parts (yellow and clear) run out evenly. Then and only then point the nozzles into the paper cup with your pigment, and push out as much as you think you’ll need/can safely apply in three minutes. Mix parts + pigment together for at least 20 seconds with your popsicle stick.
6. Apply the resin. Using your popsicle stick or disposable tool of choice, apply the resin into the areas you have prepared and guide-taped. Especially in the case of ceramic/terracotta, don’t be afraid to slather it on to make sure it really gets in the cracks. Clean up comes later.
Remember, you really only have about three workable minutes as soon as the resin leaves the tube, so stay focused. Be prepared to need multiple sessions (and days) for projects where you can’t get to all the damage in one go. Allow 24 hours curing between sessions, and keep your project out of rain and drastic humidity.
7. Apply clamp/bungee cords, etc. Depending on the severity of the crack/damage, and particularly if your project is in separate pieces, it may be best to use something to help the parts bond together. For my project, which was just superficial cracks, I was able to skip this step.
8. Repeat as needed until all cracks are filled. Make sure you continue to allow 24 hours cure time between sessions.
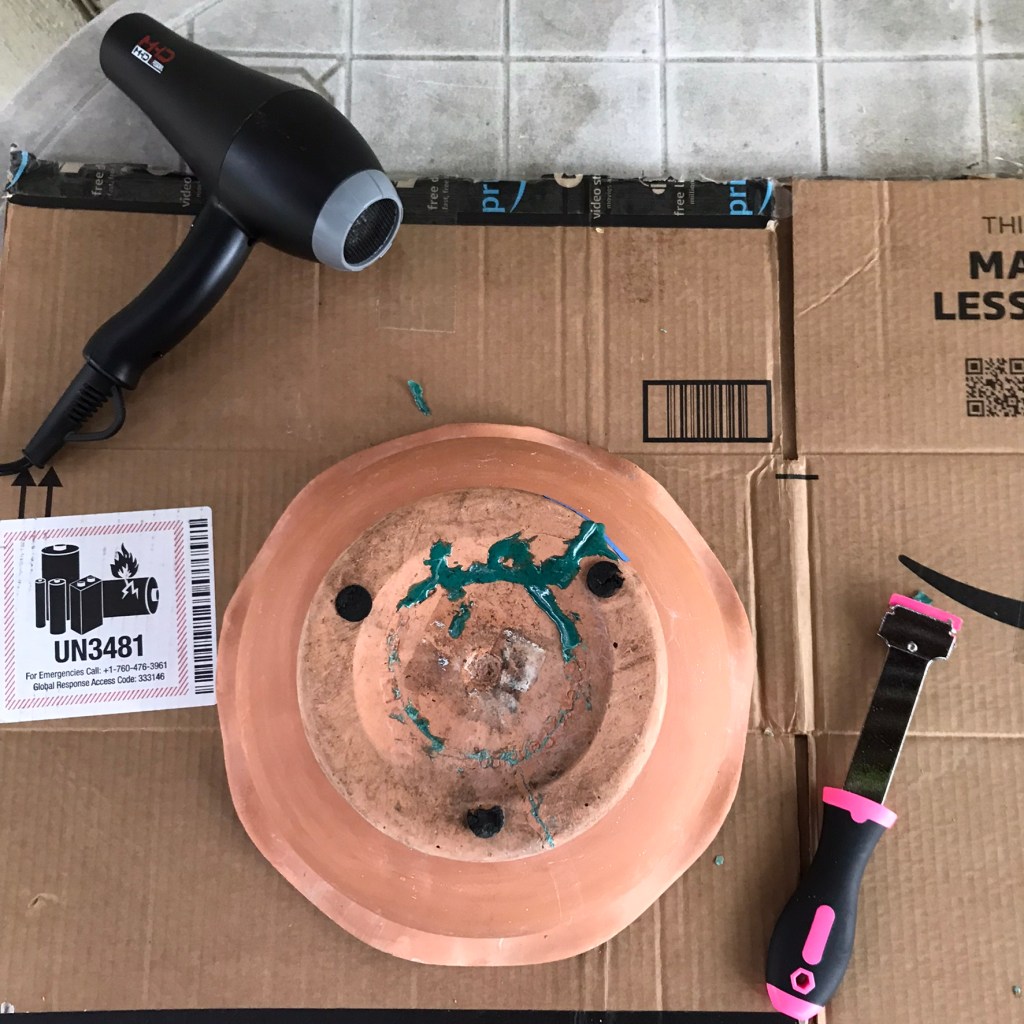
9. Heat + scrape off the excess. Now that the last of your epoxy has set into a hardened glaze, you can come in for the final step, which is clean-up & the big reveal. Using a hairdryer, heat up your epoxy in sections, also removing any leftover tape, bungee cords, etc. as you go.
Once the epoxy is warm, it becomes malleable. Now you’ll come in with your scraper (or smaller/gentler tool as needed) and shave the extra glaze right off. Surprise! You are left with a one-of-a-kind, beautifully natural-looking repaired pot. Enjoy!

What if my planter is just absolutely in pieces/beyond repair, or I no longer want to use it?
You still have options! For the project-minded, you could also use epoxy resin in pour projects such as creating your own unique stepping stones, table tops, coasters, etc. (I haven’t tackled any of these myself yet, but have certainly seen it done). Alternatively, if you don’t want to reuse pottery pieces but don’t want them to go to waste, consider listing them on your local Buy Nothing group as a home project / art material, or asking around.
We love a good upcycle. What other project(s) might you envision from damaged pottery/planters, if not a repair? Share below!

Leave a comment